|
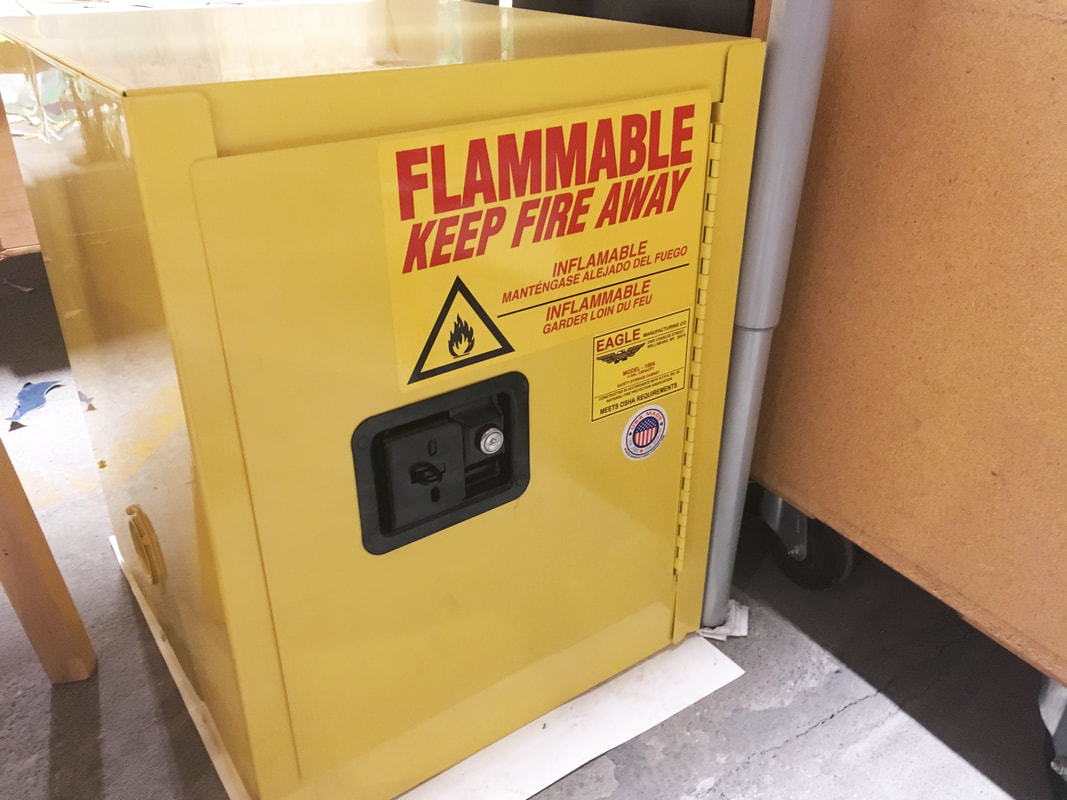
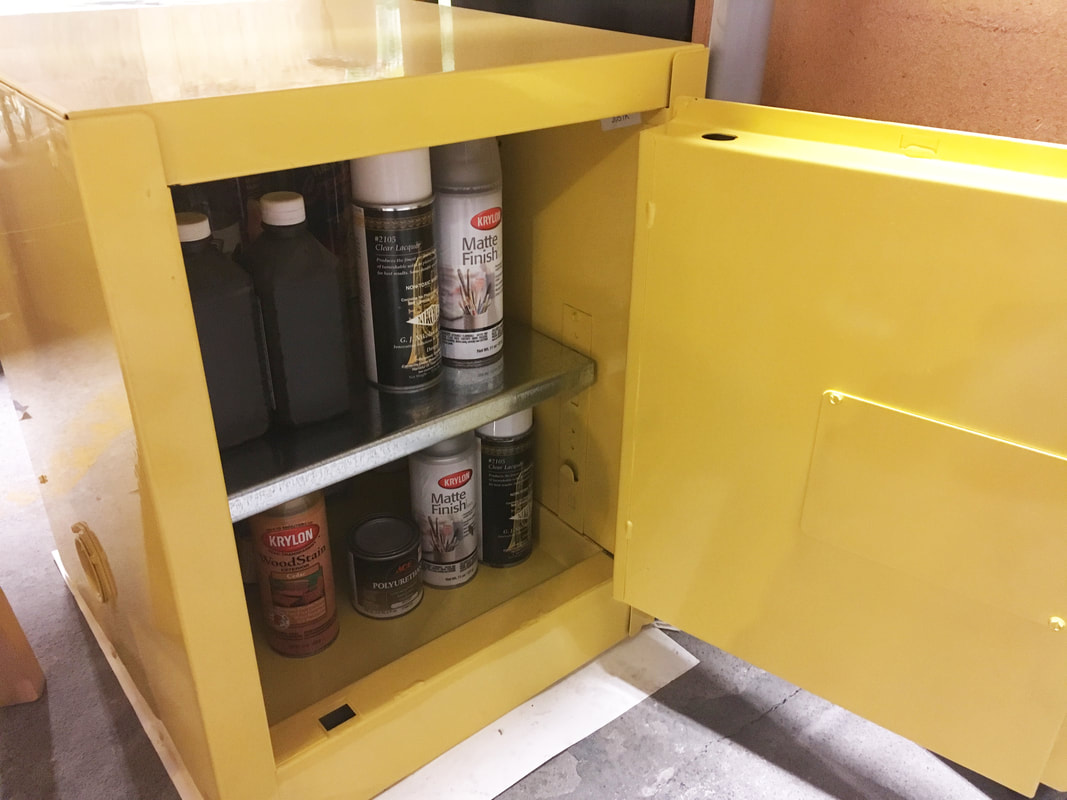
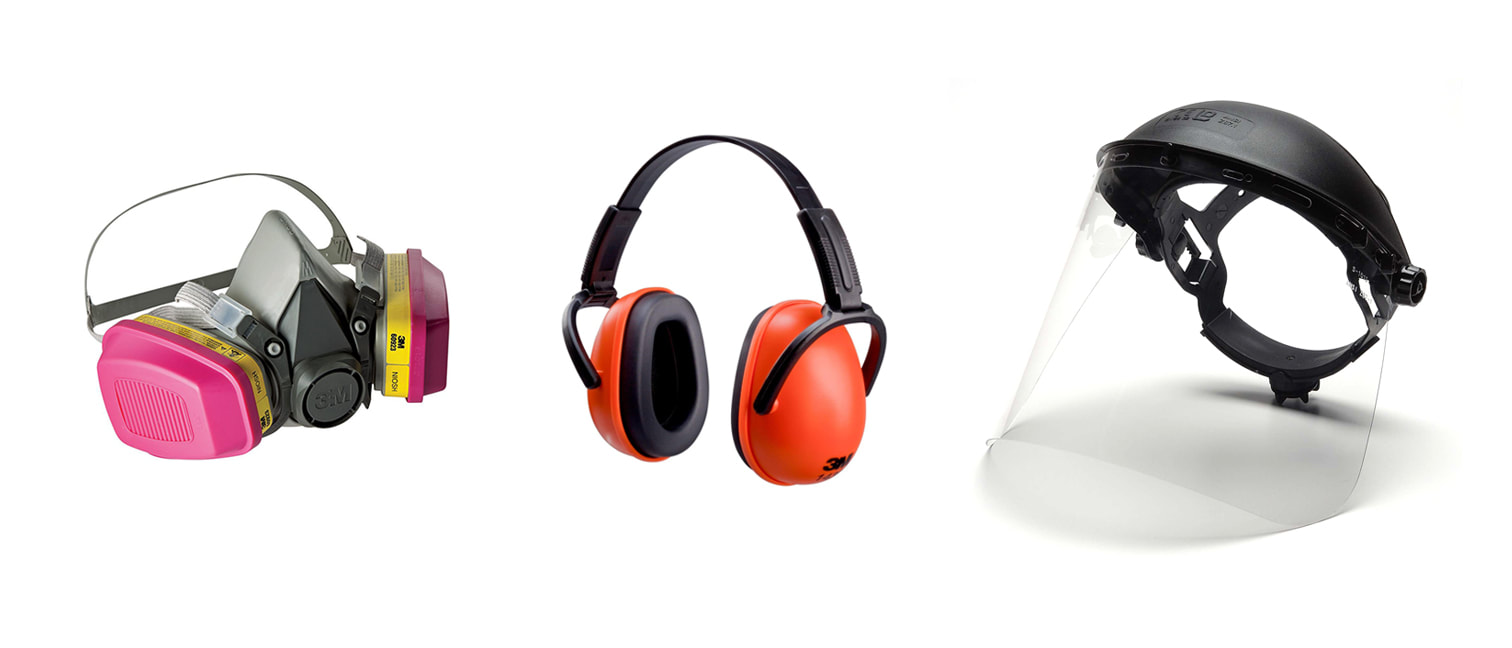
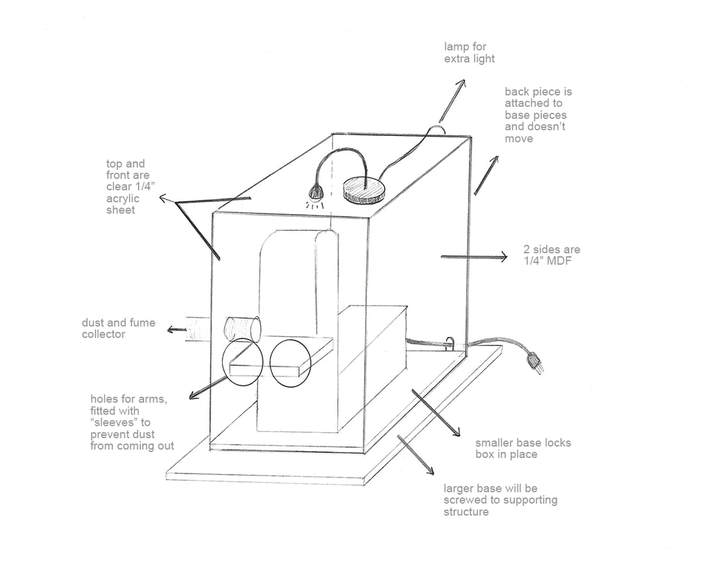
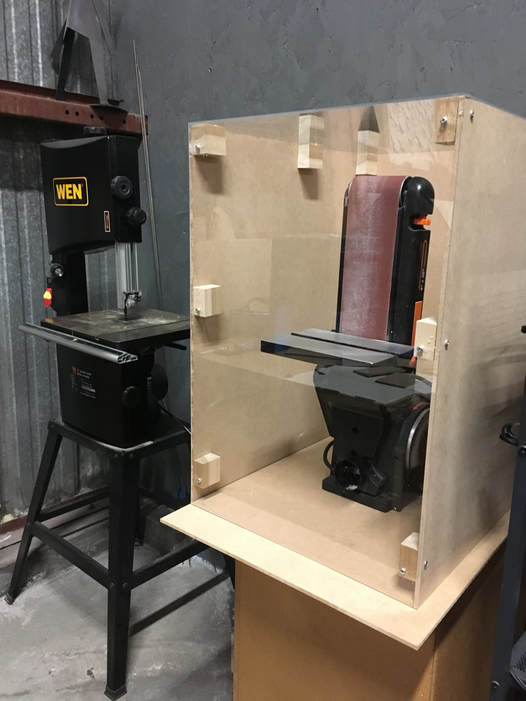
This summer, I was awarded a "Get Ready" Grant from CERF+, which is a nonprofit that supports studio artists, making sure that the artists are as well-protected as the artwork they create. Their grants can be used to buy business insurance, storage for artwork, studio safety equipment, and more. I wrote a proposal in which I apply the grant toward two projects: a safety storage cabinet and a box that would envelop my belt sander. Safety storage cabinets are lovely things for artists to have, but they're often low priority on the "to-do list." CERF+'s grant allowed me to purchase a storage cabinet for flammable liquids that meets OSHA Standard 1910.106 and NFPA Code 30 for safe storage and handling of flammable liquids. What's the difference between this cabinet and any old cabinet? This double-walled, 18-gauge galvanized steel cabinet is powder coated a bright yellow, which means it's protected from rusting and it's easy to spot. Yellow is the color code for flammable liquids. Over time, internal vapors from the flammable liquids may build up, but this cabinet will allow those vapors to escape, decreasing the likelihood of liquids inside from igniting. In the event of fire, the cabinet also protects its contents. Aerosols such as Krylon's Matte Finish or other flammable liquids need to be stored properly to protect everyone who uses the studio. The cabinet comes with a small shelf, which is perfect for increasing storage surface area. I can't tell you how exciting it is to have a safe place to put my aerosols! I also have a nifty key to secure the chemicals if anyone with children visits. The second project I tackled, with the help of the CERF+ grant, was building a box for my belt sander. As you probably know, I work with reclaimed or locally sourced acrylic end cuts and scrap, and this means plastic dust and fumes when I use the belt sander. For the past couple of years, I've been wearing a heavy duty respirator, an ear muff, and a face shield whenever I work with the belt sander. You can imagine how heavy all that headgear gets after an hour or two! Before long, all the straps of the three pieces of headgear feel like they're cutting into my head, and the facepiece of the respirator isn't a perfect fit for my face. All the extra weight and distractions prevent me from working for long periods of time at the belt sander. I've also been using a dust and fume collector to filter out the plastic fumes, but since the belt sander isn't enveloped, the fumes aren't captured fully. This is where the box comes in! There were multiple versions, sketches, and numerous calculations, and this was one of my final sketches of the box: I ran into a few obstacles and missteps when building the box, so it's not 100% complete yet, but I'm so close! Here's a sneak peek of what it looks like so far. All that's left is making the holes in the box for my arms, a hole for the hose of the dust and fume collector, and a hole for the belt sander's cord to go through. My plan is to drill many small holes in the outline of a circle, carefully remove the circle, then sand the edges of the hole smooth. Drilling through acrylic, especially at 1/4" thickness, can be tricky, but I'm eager to tackle this next challenge! Thank you CERF+!
0 Comments
Leave a Reply. |


